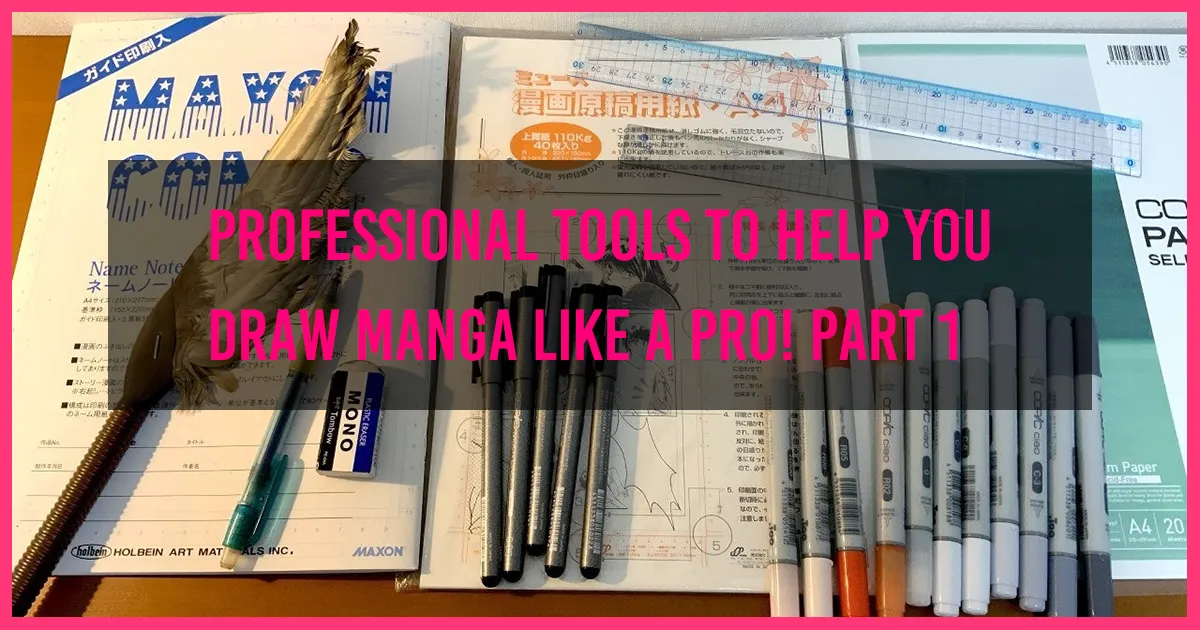

As long as they have paper and pen, anyone can draw manga! That being said, there are certain tools that become necessary when a manga-ka wants to draw by hand at professional level. Whilst a lot of manga illustration and production has turned digital nowadays, there are plenty of artists who still prefer more traditional methods, and we’re sure many of you are interested in learning more about the traditional manga drawing style too!
So let’s take a look at some of the tools that our lecturers from Anime Art Academy listed as must-have items for drawing manga by hand! There are some tools that you might not see often outside of Japan, so we’ll go through what each item is, and how it’s used.
We’ll be splitting the tools up into “essential starter tools” and “useful tools” so you know which are vital, and which are simply useful to have in your kit. We can’t cover every single tool that a manga-ka might have in their collection, but we’ll go through all of the most important ones!
Essential starter tools
Pen
Most manga artists will use a pen and ink to draw when drawing manually, and in a lot of cases they will use standalone pen shafts to attach their different pen nibs to.
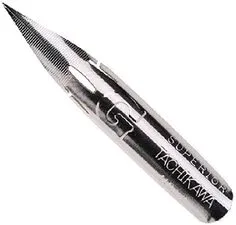
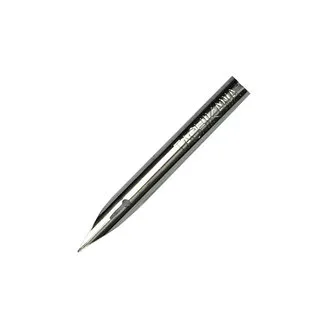
A G-pen nib is versatile and allows for different thicknesses in the linework, so it’s often used for character illustration. A mapping pen nib produces a thinner, more consistent stroke, and is used for filling in detail like hair and backgrounds.

Some artists will also use mechanical pencils and “millimetre” pens when working.
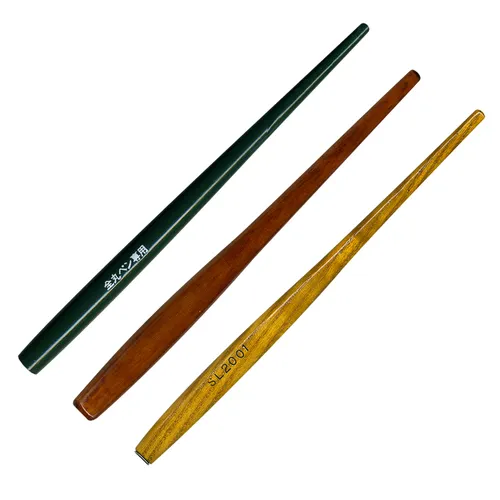
The following picture shows a variety of different pen bodies. A manga-ka can choose a body that fits their hand and drawing style, and then attach the pen nibs to that shaft. G-pens and mapping pens fit on different size pen shafts, so you’ll need to be careful to choose the right size for your needs!
Let’s take a closer look at the different pen nibs.
Can you see the difference in the strokes? The G-pen allows for different pressure and thicknesses, whereas the mapping pen creates a more consistent, thin stroke.
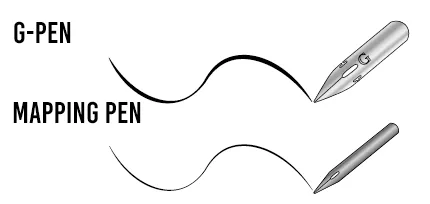
G-PEN
As I mentioned earlier, the G pen is usually used for the main lines of characters and contour lines
MAPPING PEN
Mapping pens are most often used for hair and backgrounds, but in certain cases, artists will choose to use just this pen for all the lines. This is most prevalent among “shoujo” manga artists who prefer to draw a lot of detail in to their characters and scenes.
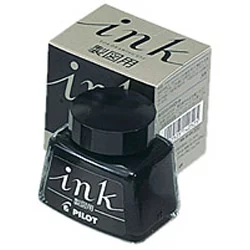
Ink
To go with the pens, artists will need to use ink. The nib pens mentioned above don’t come with their own ink wells inside, so artists need to master the art of dipping the pens in the ink and using that ink to draw with. Whilst still commonplace in the Japanese illustration industry, we don’t get much chance to practice with this kind of ink in the West. So it might take a bit of practice to avoid the ink running and splotching!
The most popular inks among pros are ones that take well to the pen, create a smooth stroke, and dry very quickly, so look out for those features when choosing your ink.
It is said that “One Piece” author Eiichiro Oda favours INK-30-DO from Japanese pen manufacturer PILOT. So if you’re not sure, that might be a good ink to start with!
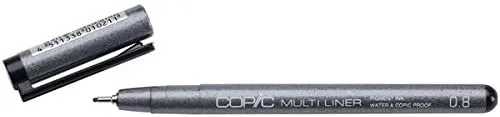
Millimetre/Fineliner pen
As the name suggests, these pens are sold by millimetre, so you have a clear indication of how thick your lines are going to be.
These pens are mostly used for drawing the outlines of cells in manga, and we recommend getting hold of one that’s 0.6 to 0.8mm.
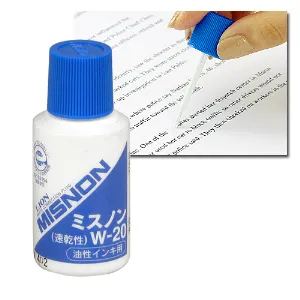
Correction fluid
When drawing by hand, it’s easy to make mistakes or smudges – but don’t worry! Since professionals will be scanning and copying their work to turn into comic books, it’s fine to make corrections with correction fluid. This won’t show up when you copy your work!
Tipp-Ex is probably the most famous brand of correction fluid outside of Japan, but the one that’s most used by manga-ka in Japan is MISNON by LION. Of course if you can’t get hold of this, any quick-drying correction fluid is fine!
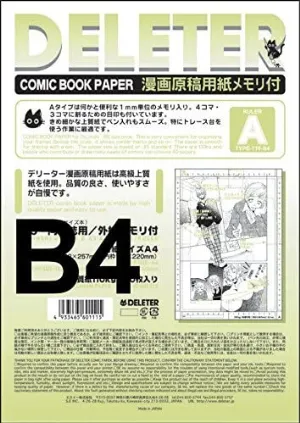
Manga Manuscript Paper
Manga manuscript paper is actually divided into two different categories – one for professional use, and one for hobby use. If you plan to submit your work to a publisher, or send it in to a contest, you will want to use the “professional” B4 size. If you’re just drawing for fun, you might want to use A4 size.
There are also different weights of paper to choose from – the most common of these being 110kg and 135kg. Measuring paper in kg seems strange, but this number actually indicates the weight of 1000 pages of paper!
110kg is thinner, so it’s good for artists who like to trace a lot, or artists who use stronger strokes when drawing.
135kg paper, on the other hand, is good for artists who prefer to use a lighter stroke.
You might think that artists with a heavier stroke should use heavier paper to match, but this actually doesn’t work out well. Heavier pencil sketch lines create deeper indents in thicker paper, and when the artist inks over their pencil lines, the ink can well up in these indents, potentially creating a messy result. For that reason, artists with a heavier hand like to use thinner paper, so there’s less room for indentation!
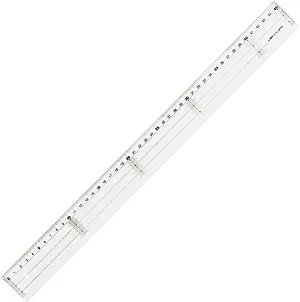
Ruler
This is one that our students from Anime Art Academy should know about already! The ruler! Not only can it be used for drawing accurate character guidelines, it’s also super important for drawing effect lines, perfectly straight objects like buildings, and for the outline of manga cells themselves.
For artist drawing on B4 paper, we recommend getting hold of a ruler that’s 45cm or longer.
That brings us to the end of today’s rundown of professional manga tools! We’ve covered the essentials, so next lesson we’ll be moving on to the “useful items” which aren’t necessarily vital, but will help you out a lot!
And don’t forget to put your new knowledge to good use at our online school, Anime Art Academy!
Anime Art Academy is on Discord! Come and join our community!